Homemade Chocolate Pudding is creamy, rich, and chocolatey; these are just a few words to describe this delicious pudding recipe.
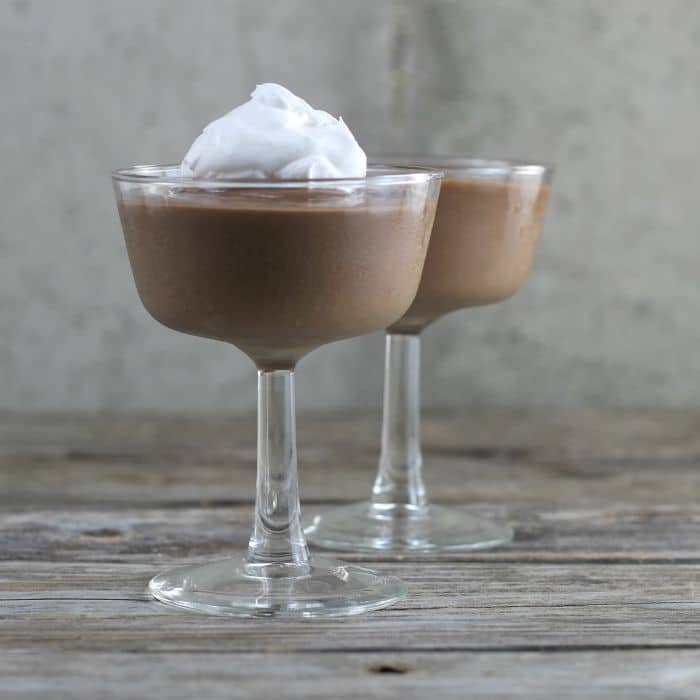
This homemade chocolate pudding is simple to make and you will be impressed with how creamy and delicious it tastes.
I have always been a big fan of chocolate pudding. As a kid, my mom would make the pudding from a box, the cooked kind. And as a kid, I loved it as well as my siblings. To tell the truth I thought it was special because it came from a box.
Back then my mom made almost everything from scratch and when we got something that was from a box or store boughten, I thought it was something special. Now that I am an adult, I find that to be pretty silly.
When I met Mike, he was an instant pudding kind of guy. So for years, we have had instant pudding when making pudding.
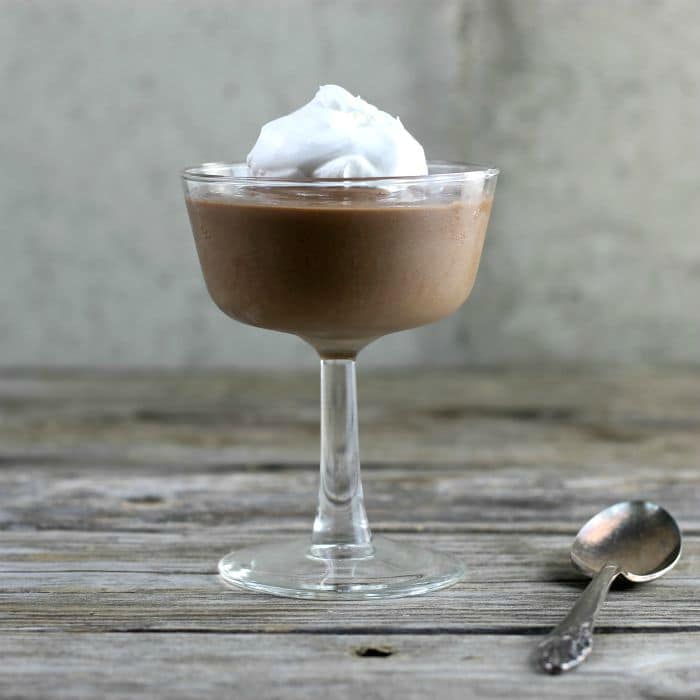
But now that I have made homemade pudding there is no looking back. Really, it is that delicious.
Can you make homemade chocolate pudding a day before you serve it?
Yes, absolutely you can. This pudding keeps well. Make sure to cover it with plastic wrap and store in the refrigerator. (The plastic wrap does not have to touch the pudding this pudding does not get a skin over top of it)
What kind of topping can you add to pudding?
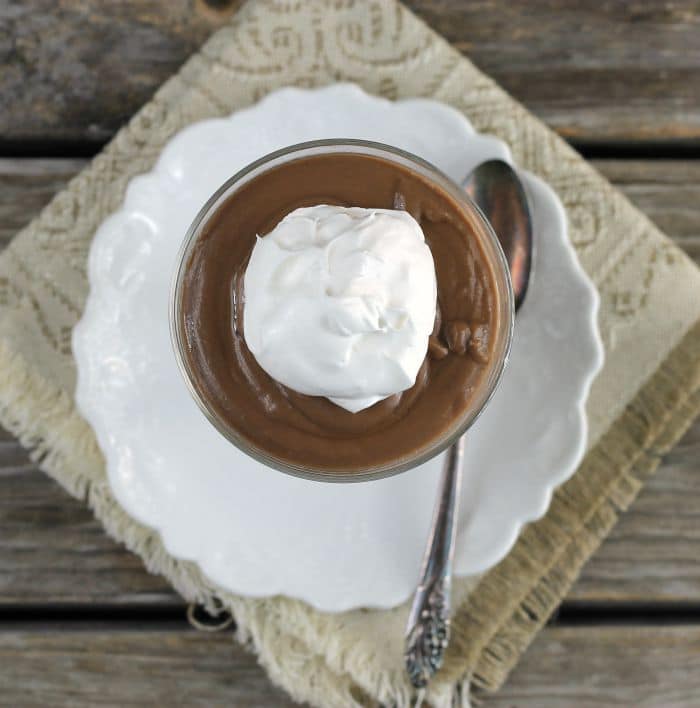
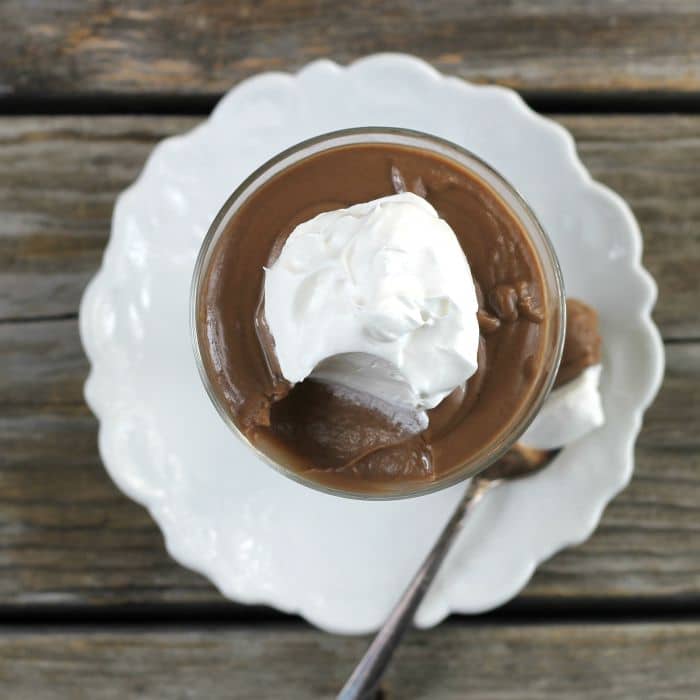
- Number 1 topping for me is sweetened whipped cream
- Fresh fruit will work, like strawberries, blueberries, or raspberries
- Chocolate sprinkles will go nicely with this chocolate pudding.
Are you a chocolate lover like me? Check out these recipes:
Homemade Chocolate Pudding
Ingredients
- 3/4 cup sugar
- 2 tablespoons cornstarch
- 1/4 teaspoon salt
- 1/2 cup semi-sweet chocolate chips
- 1 cup whipping cream
- 1 cup milk 2% works well
- 1 large egg
- 2 tablespoons butter
- 1 teaspoon vanilla
Instructions
- In a saucepan blend together the sugar, cornstarch, and salt; add the cream, milk, and chocolate chips. Beat the egg and set aside for later.
- Cook over medium heat until it starts to get thick and bubbly. Continue to cook another 2 minutes.
- Remove the pudding off of the heat. Stir in a few spoons of the pudding mixture into the egg, one spoon at a time. Add the egg mixture to the pudding.
- Return the pudding to the heat and continue to cook an additional 2 minutes. Remove from the heat and stir in the butter until melted. Add the vanilla and mix in well.
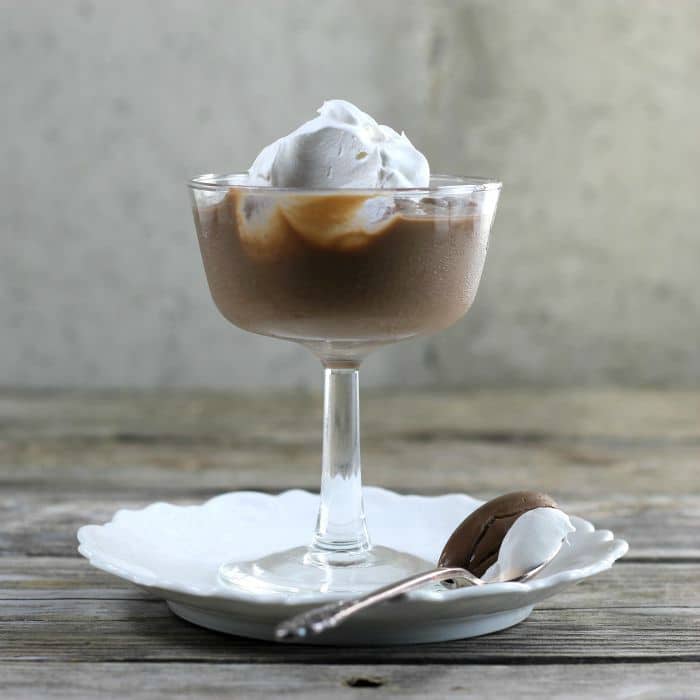
- Spoon the pudding into dishes. Serve warm or chill before serving. Store in the refrigerator, cover with plastic wrap. The plastic wrap does not need to be touching the pudding.
Notes

Nutrition
Stay in touch with me on Facebook, Twitter, Instagram, and Pinterest.
So creamy and tempting!
My hubby LOVES pudding! Looks like it’s time to treat him!!
I’m with ya on the sweetened whipped cream for a topping here, Dawn! This sounds like a wonderful dessert. I grew up with instant pudding, too, but once I tried a homemade version, I never looked back! I haven’t had pudding in quite some time. I should fix that!
Oh Dawn, I have not had chocolate pudding for ages…and I am literally drooling over these pictures…creamy and so chocolately…